
Ever wanted to do some simple correction to your server, or needed to access it from a machine that, hold on now, didn’t have any terminal or other tools to do so?
Or were on a network that blocked the port that your server was using for SSH? Or you only had HTTPS access to your server?
Well, here’s an easy way around that. WeTTy (Web + TTy) is “an alternative to ajaxterm and anyterm but much better than them because WeTTy uses xterm.js which is a full fledged implementation of terminal emulation written entirely in JavaScript. WeTTy uses websockets rather then Ajax and hence better response time.”
In other words, it’s a fast shell in your browser.
And true to what it says, I have tried it with htop, tmux, vim, and all of my regular program, as well as used it with my daily routines and system installations. It’s worked great.
And the connection is very stable. I’ve been logged in the whole day without an issue. I still use Tmux, but that’s more for the multiple terminals it provides.
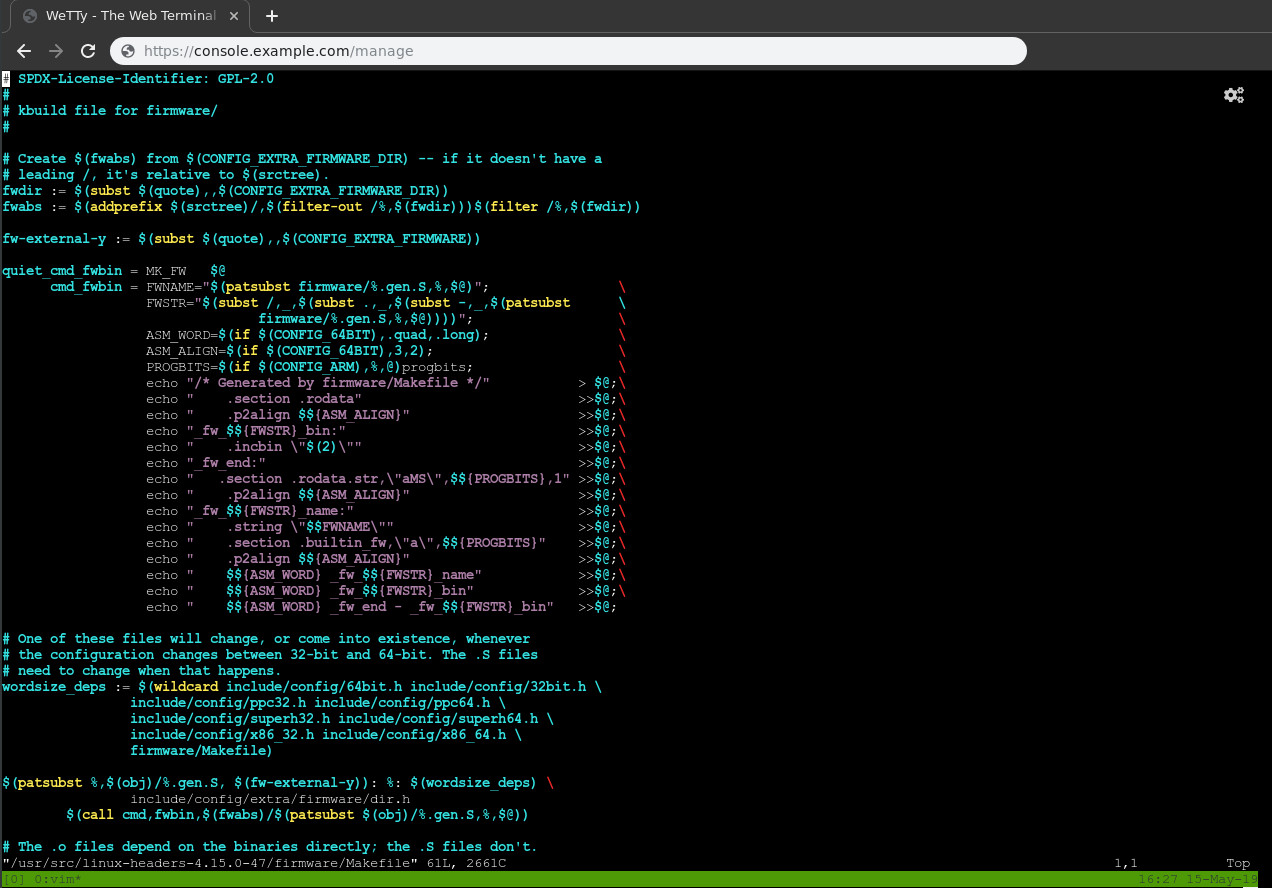
WeTTy Terminal Screenshot
What we will do
To set this up, we are going to use Docker compose to do so, to make it simple. You’ll need Docker and Docker Compose installed, and that you have Traefik installed and setup. And of course you’ll need OpenSSH installed and running on the server.
2FA
I’ll also show you how to (optionally) setup two factor authentication (2FA) for this, as an added security measure.
How we will login
While we can have WeTTy connect directly to the server’s SSH, I prefer to have another line of defense: a separate container that must be logged into, which will then force login to the server’s SSH.
Broken down:
- Login to website. (Used to deter bots. Should not be the same as the below.)
- Login to SSH container. (Again, used more to deter. Does not give the user a shell).
- Login to Server (This login better be good.)
[Browser]---> [Traefik (Login 1)]-> [WeTTy]-> [wetty-ssh (Login 2)]-> [Server (Login 3)]
Info
It’s a lot of logins. I plan on seeing if there’s a better way to do this in the future, but I’ve been using it for a long time now, and it’s fairly simple to login. And I prefer the peace of mind.
Warnings
Remember that this is in a browser. You’ll want to make sure your browser is secure and up to date.
SSL
You must use SSL (TLS) on this setup if it’s over the internet, from your browser to the server. Otherwise anything you type (passwords, codes, your dog’s name) will be visible, and, just like in the days of telnet, others can inject commands into your connection that will then be run on the server. You have been warned.
The examples below are configured to use the SSL that Traefik is using, assuming that you’ve configured Traefik to use an SSL certificate for the domain.
Also, the connection between Traefik and WeTTy is still encrypted, with certificates that WeTTy generates when it first starts up.
Setup
Feel free to set this up how you want to, but we’ll do the above in this article.
I have a git repo for this. You can either clone it or copy/make the 3 needed files that will be mentioned below.
git clone https://github.com/bagley/wetty.git
Docker compose
The first thing we are going to do is to make our docker-compose.yml. It’s in the above repo, or you can download it
wget https://raw.githubusercontent.com/bagley/wetty/master/docker-compose.yml
Or copy and save the full file.
version: "2.3"

services:

  wetty:
    image: mydigitalwalk/wetty:latest
    # image: butlerx/wetty
    restart: always
    mem_limit: 300M
    container_name: wetty
#    tty: true
    env_file:
      - .env
    environment:
      SSHHOST: 'wetty-ssh'
      SSHPORT: 22
      NODE_ENV: 'production'
    networks:
      - traefik_proxy
      - default
    volumes:
      - wetty-data:/home/node
      - /etc/localtime:/etc/localtime:ro
    labels:
      - "traefik.enable=true"
      - "traefik.backend=wetty"
      - "traefik.frontend.rule=Host:${DOMAINNAME}"
      - "traefik.frontend.auth.basic.usersFile=/shared/.htpasswd"
      - "traefik.protocol=https"
      - "traefik.port=3000"
      - "traefik.docker.network=traefik_proxy"
      - "traefik.frontend.headers.SSLRedirect=true"
      - "traefik.frontend.headers.STSSeconds=315360000"
      - "traefik.frontend.headers.browserXSSFilter=true"
      - "traefik.frontend.headers.contentTypeNosniff=true"
      - "traefik.frontend.headers.forceSTSHeader=true"
      - "traefik.frontend.headers.SSLHost=example.com"
      - "traefik.frontend.headers.STSIncludeSubdomains=true"
      - "traefik.frontend.headers.STSPreload=true"
      - "traefik.frontend.headers.frameDeny=true"


  wetty-ssh:
    image: mydigitalwalk/wetty-ssh:latest
    # this is needed so wetty can connect to it
    container_name: 'wetty-ssh'
    restart: always
    mem_limit: 200M
    env_file:
      - env-wetty-ssh
    volumes:
      - wetty_ssh-data:/data
      - /etc/localtime:/etc/localtime:ro
    networks:
      - default

networks:
  traefik_proxy:
    external:
      name: traefik_proxy

volumes:
  wetty-data:
    name: wetty-data
  wetty_ssh-data:
    name: wetty_ssh-data
Now let’s go through what needs to be configured in it.
WeTTy app
First we have the wetty application. This is what Traefik connects to.
It needs a DOMAINNAME and a BASEURL, so it can tell Traefik what traffic to direct to itself. It uses the .env file for these settings. You can either rename .env.example to .env in the repo, or use the file below. Then set the domain url, and the base url, which will be accessible from https://{DOMAINNAME}{BASEURL}.
# In .env file
DOMAINNAME=console.example.com
BASEURL=/manage
The above example would be reachable from https://console.example.com/console/.
Htpasswd
The htpasswd file will prompt us for a username and password to open the site. This helps keep bots away. The path we have here is where Traefik will see it (/shared/wetty-htpasswd). In my
tutorial of Traefik, I made a volume for the /shared folder. If yours is different, you’ll need to adjust it accordingly.
- "traefik.frontend.auth.basic.usersFile=/shared/wetty-htpasswd"
But either way, that file will need to have a username/password in the htpasswd format. The command to get that is:
htpasswd -nb YourUser YourPassPhrase
Of course, you don’t have to have a htpasswd, but it’s a nice extra layer of security, and helps keeps scanning bots away.
wetty-ssh app
When the wetty app connects to wetty-ssh, the wetty-ssh prompts the user for a username and password.
The username, password, and ssh connection information is configured in the env-wetty-ssh file. The container uses this when it starts up, making a user without the need to rebuild the container.
Info
Why two files, one for each container? Because the public facing container should not already have your username/password to login to the second, in case someone were to break into it. It would make it too easy to get into the ssh one.
You can copy this from the repo’s env-wetty-ssh.example or use the below.
I would suggest you don’t set these to your actual ssh username/password.
WETTY_USER=YourUser
WETTY_PASSWORD=YourPassPhrase
Now when we do login to wetty-ssh, it will need the host/port/username of the destination SSH server, so it can give you a prompt for that.
We also set this up in the env-wetty-ssh file:
SSHHOST=w.x.y.z
SSHPORT=22
SSHUSER=Your.SSH.User
So when you’re done, env-wetty-ssh should have something like
WETTY_USER=YourUser
WETTY_PASSWORD=YourPassPhrase

SSHHOST=w.x.y.z
SSHPORT=22
SSHUSER=Your.SSH.User
Info
Be sure to change the above username and password. And don’t set the SSHHOST to localhost or 127.0.0.1 as this is a container, and that would just have it connect back to itself.
Traefik network
The last part is the Traefik network. If you change this, be sure to change the other references to traefik_proxy in the file.
networks:
  traefik_proxy:
    external:
      name: traefik_proxy
Volumes
You don’t need to do anything with the volumes, but as an FYI, we have volumes on the apps to store the SSH keys, known_hosts files, and other files needed across recreates/updates. Docker Compose will automatically create the needed volumes for each app. They are called wetty-data for the wetty container, and wetty_ssh-data for the wetty-ssh container.
So again you don’t need to do anything for this part. Of course, you are welcome to change them. Just make sure they go to the same directories in the containers.
Configure Server’s SSH
Now you may not need to do this. But I did as I by default disable password authentication. Just keys. Keys are awesome.
So this is going to go by the assumption that you just use keys, and you only want to keep using keys for your connections.
Warning
And before we start, make sure you are logged into the server with at least two connections/terminals. The following instructions will require a restart of SSH, which could lock you out of the server if the configuration isn’t right and SSH can’t restart. (We’ll use ssh -t to verify, but still be careful). Just know that when SSH is restarted, if it doesn’t come back up, don’t panic. Your current session should stay open. Simply the fix the issue and/or revert the changes as soon as you can and restart SSH.
On that note, let’s first take a backup of the configuration. In the SSH server:
sudo cp -a /etc/ssh/sshd_config{,-bak}
Then open it in your favorite editor
sudo nano /etc/ssh/sshd_config
# or
sudo vim /etc/ssh/sshd_config
Also, we don’t need PasswordAuthentication yes in the main section, as we will be putting it in the Match section. If you have it here, you may consider removing/disabling it and using ssh keys, if you can. They are a lot safer IMHO.
We will only allow the above user you used for SSHUSER to be able to connect using a password, but only from a local IP address in the range “172.16.0.0/12,10.0.0.0/8,192.168.0.0/16”. You can modify this range as needed.
At the end of the file, add these lines:
Match User Your.SSH.User Address 172.16.0.0/12,10.0.0.0/8,192.168.0.0/16
        AllowUsers YourUser
        PasswordAuthentication yes
I’ve added AllowUsers as I use it in the main section to limit which users can login, so I have to put it in the Match section to allow just user to use password authentication. It can be removed if needed.
Once you’ve done that, save it, and let’s test the configuration. Run:
sudo sshd -t
If there are any errors with the file, it will let you know. Resolve any errors it tells you before continuing.
Now let’s restart it (I’m assuming your service is sshd, but may be ssh or openssh. Run sudo systemctl | grep ssh if you don’t see it.)
sudo systemctl restart sshd
And then in a new terminal verify that you can still login to the server like you normally do. If you can’t, check the server’s logs for any info ()journalctl -f). If it still won’t move the above backup file back into place and restart SSH.
Start it up
Now that we have the Docker compose file, and SSH is configured, let’s start WeTTY
docker-compose up -d
And check the logs
docker-compose logs -f
It should start without any errors. Go to the URL for your WeTTy setup (that you set in the docker-compose.yml).
https://console.example.com/console/
Info
Once WeTTy is up, Traefik does not need to be restarted for the settings to apply. It just magically knows it’s there.
Once you enter the htpasswd username/password, you should see a “Enter your username:” prompt. Enter the username and password for the container, and you’ll then see a prompt for the password of your server’s user. Here’s a screenshot of my login prompts
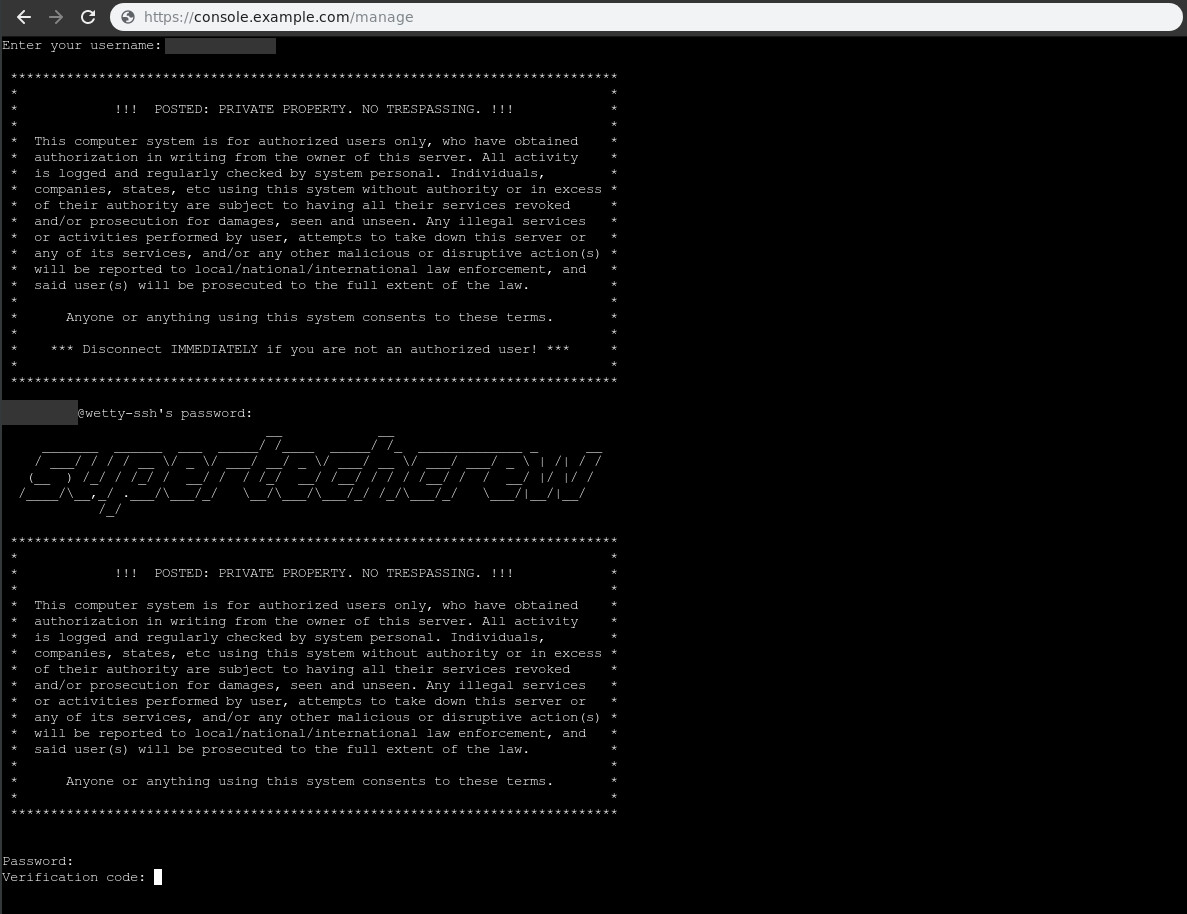
Info
The above screenshot has 2FA enabled, so that’s why it shows the Verification code:. Otherwise it would have only prompted with a password.
If you like how the system give me a notice before I login to it, here’s a simple setup on how to do it.
Bonus: Set up Multifactor Authentication for SSH
Setup Multifactor Authentication for added security on this page. This helps to secure your remote systems even if your SSH key and its passphrase are stolen.
Info
In the section “Setup the User’s MFA Tokens on the Server”, the instructions say to switch to the user that you will be logging into. In this case it will be the WeTTy user, and you will run the authenticator as that user.
After you’ve setup Multifactor Authentication and enabled the WeTTy user to use it, then test it out. All should be the same, except now you should be prompted for a validation code after entering your user’s password. Open the authenticator app and enter the code it gives you.
Conclusion
There you have it. You now can login to your server from a browser. Have fun with it!